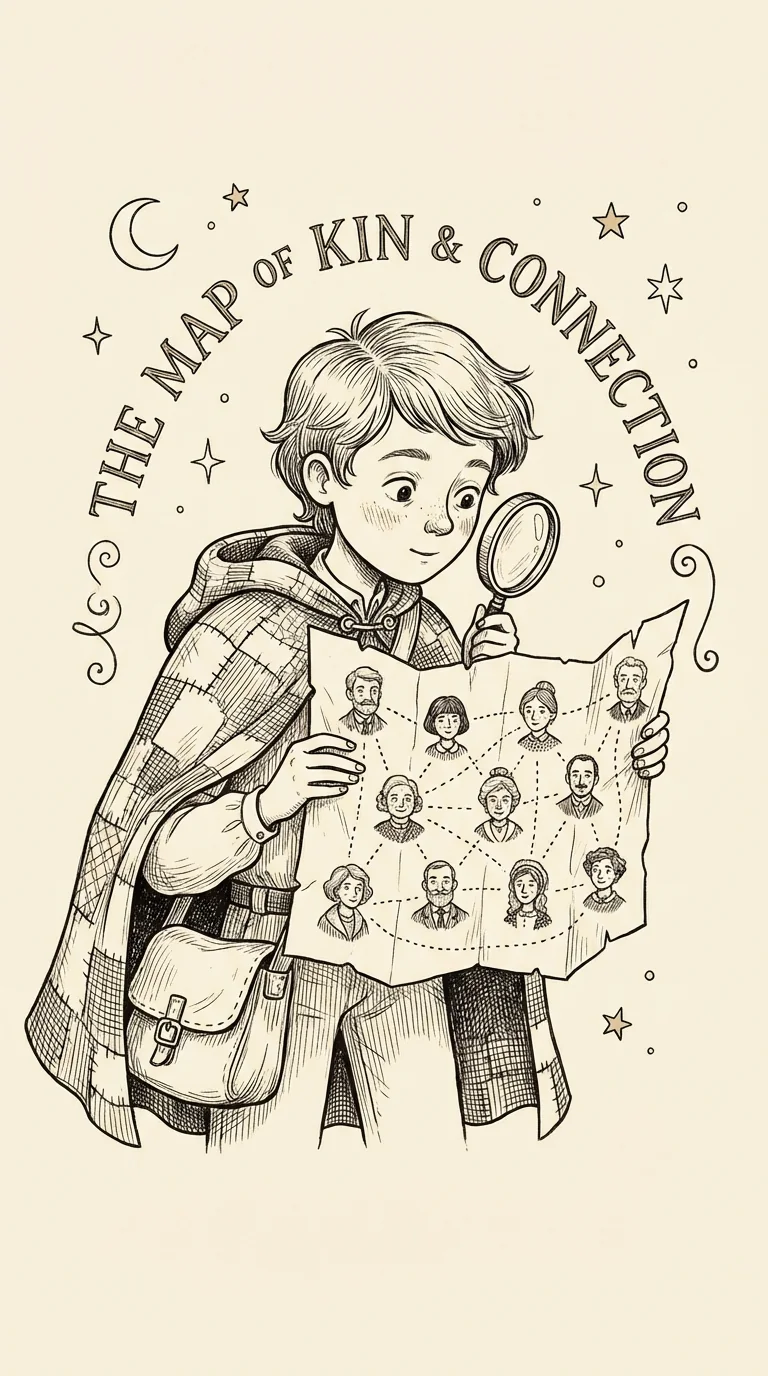
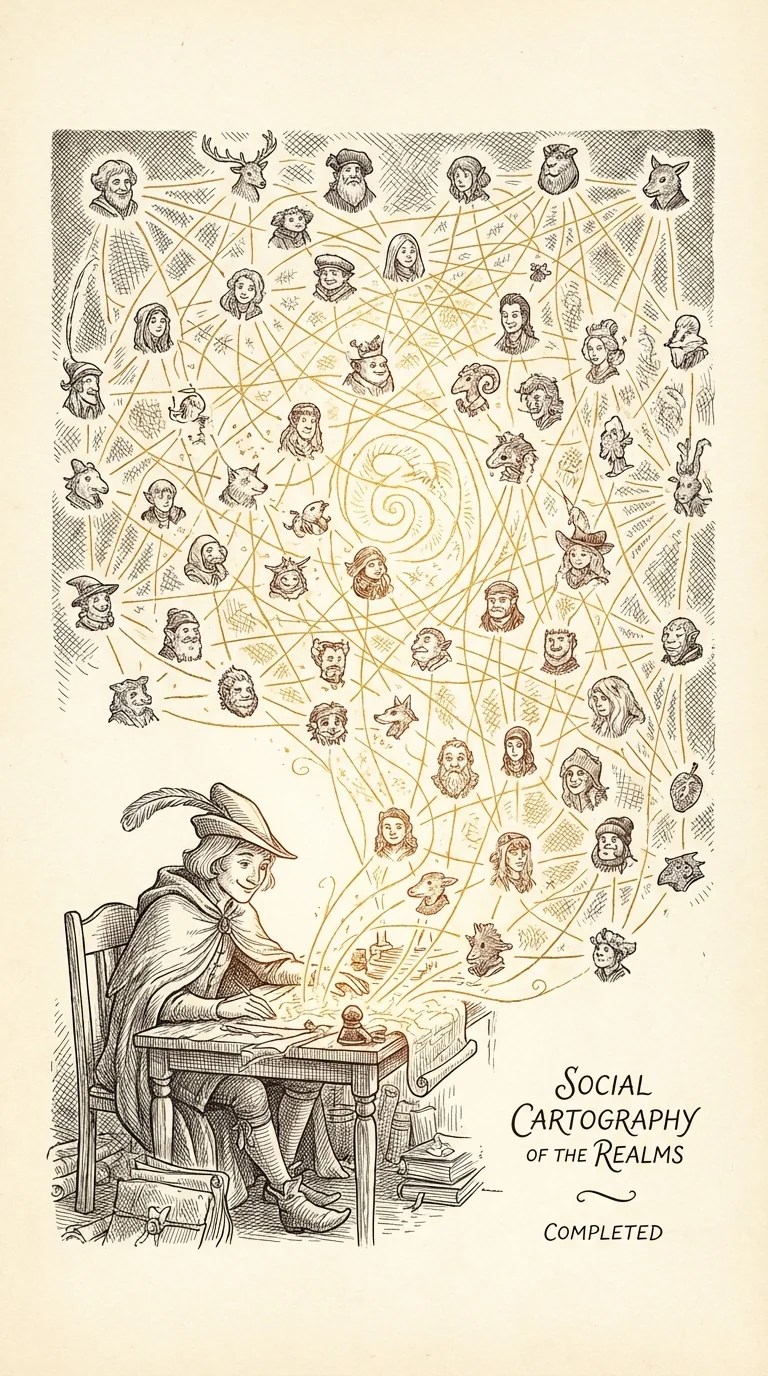
The Social Map
Great decisions die without people. Learn to map your four stakeholder groups — Approvers, Resisters, Executors, Affected — and design decisions that actually get executed.
Part 1: The Social Map
+5 XP on completion
Great decisions die without social support. You're not just solving a problem — you're navigating people.
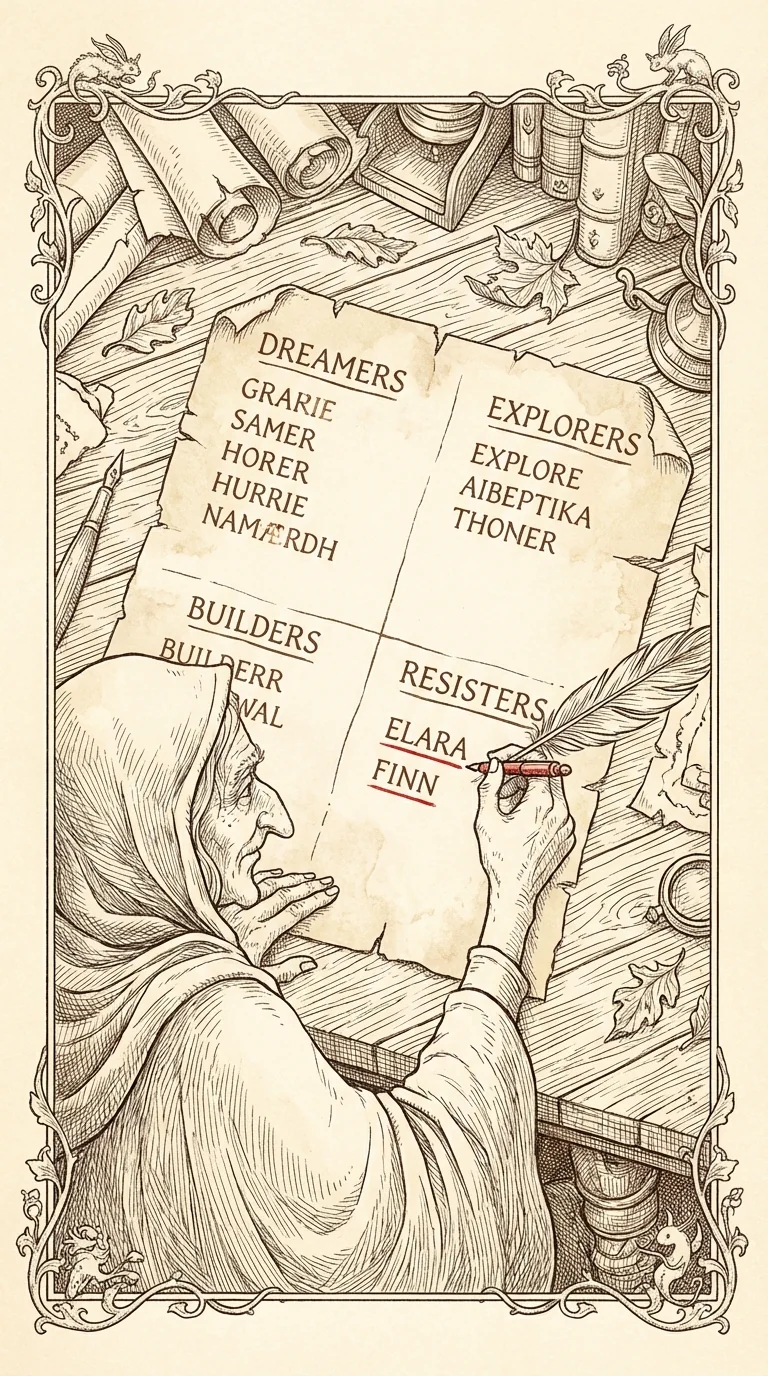
Map four groups: Approvers who can veto, Resisters who'll oppose, Executors who act, Affected who feel the impact.
Why map people? Because a decision without their buy-in isn't a decision — it's just a wish.
A product launch flopped not because the idea was wrong — but because the resister group was never identified or engaged.
Pitfall: only mapping approvers. Resisters and affected groups sink more decisions than vetoes ever do.
Your job is stakeholder design, not just solution design. Know your people before you move.
Part 2: Map Your Decision Stakeholders
+10 XP on completion
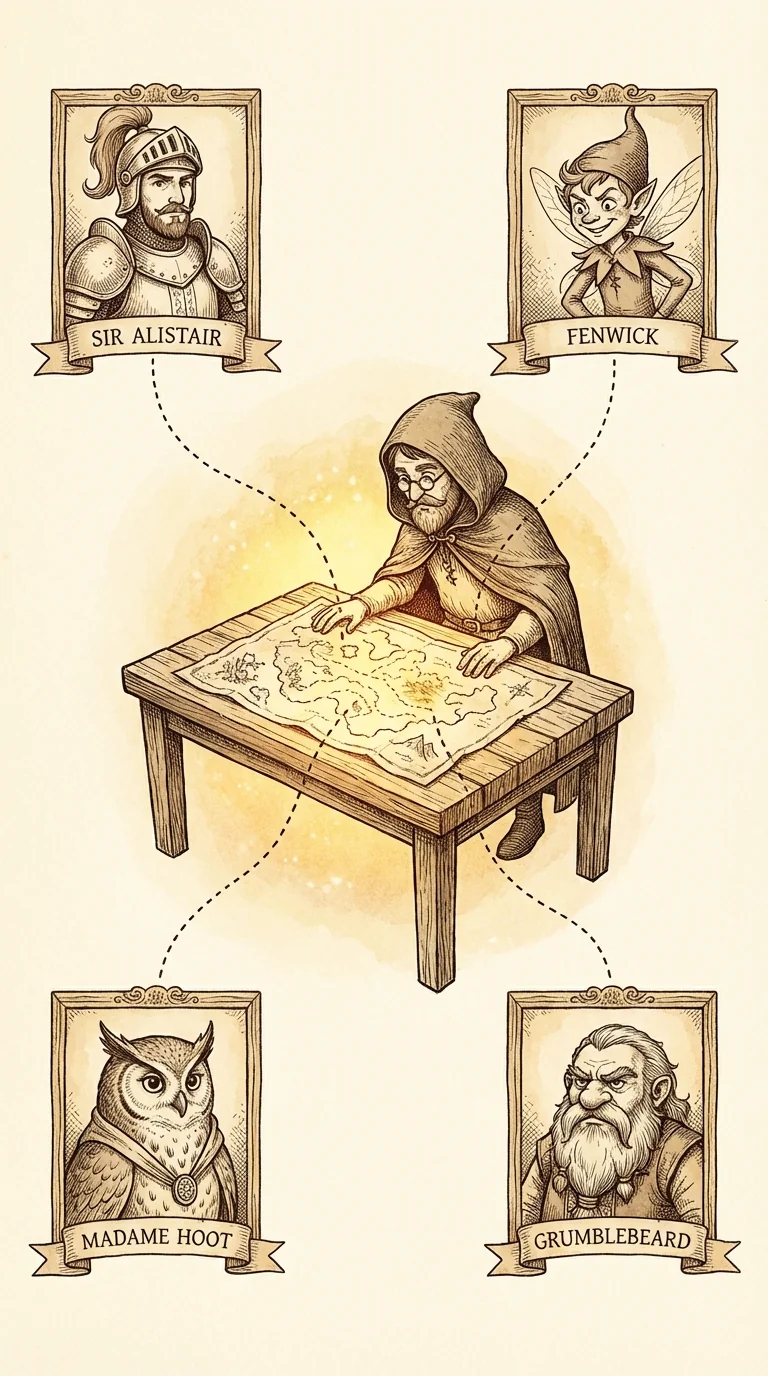
Four groups determine whether your decision lives or dies: Approvers, Resisters, Executors, Affected.
Today's practice: pick one decision you're planning. Draw your social map with all four groups.
Step 1: list every person or group in each quadrant. Don't skip resisters — they're the most important.
Step 2: for each person, answer two questions. What do they care about? How does your decision affect them?
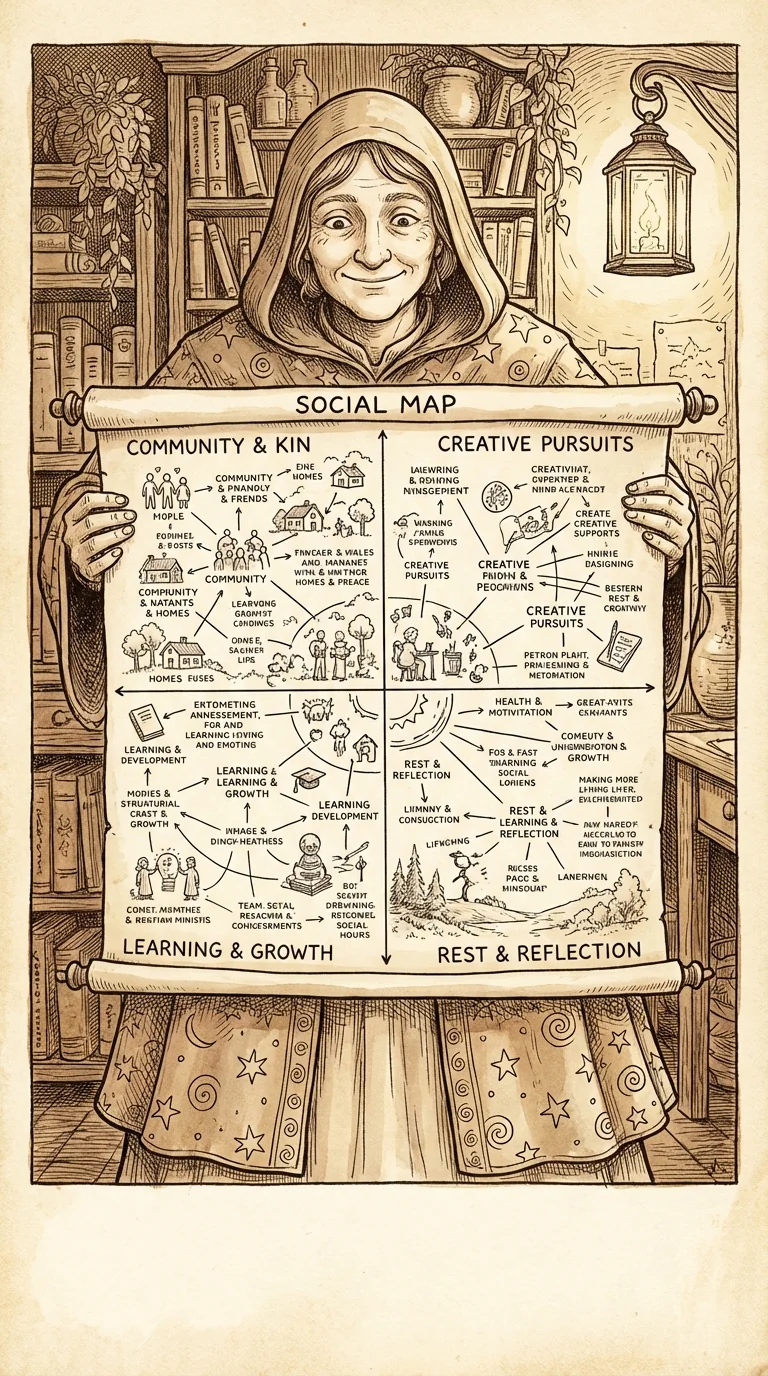
Now commit: complete your social map today. One decision, four groups, two questions each.
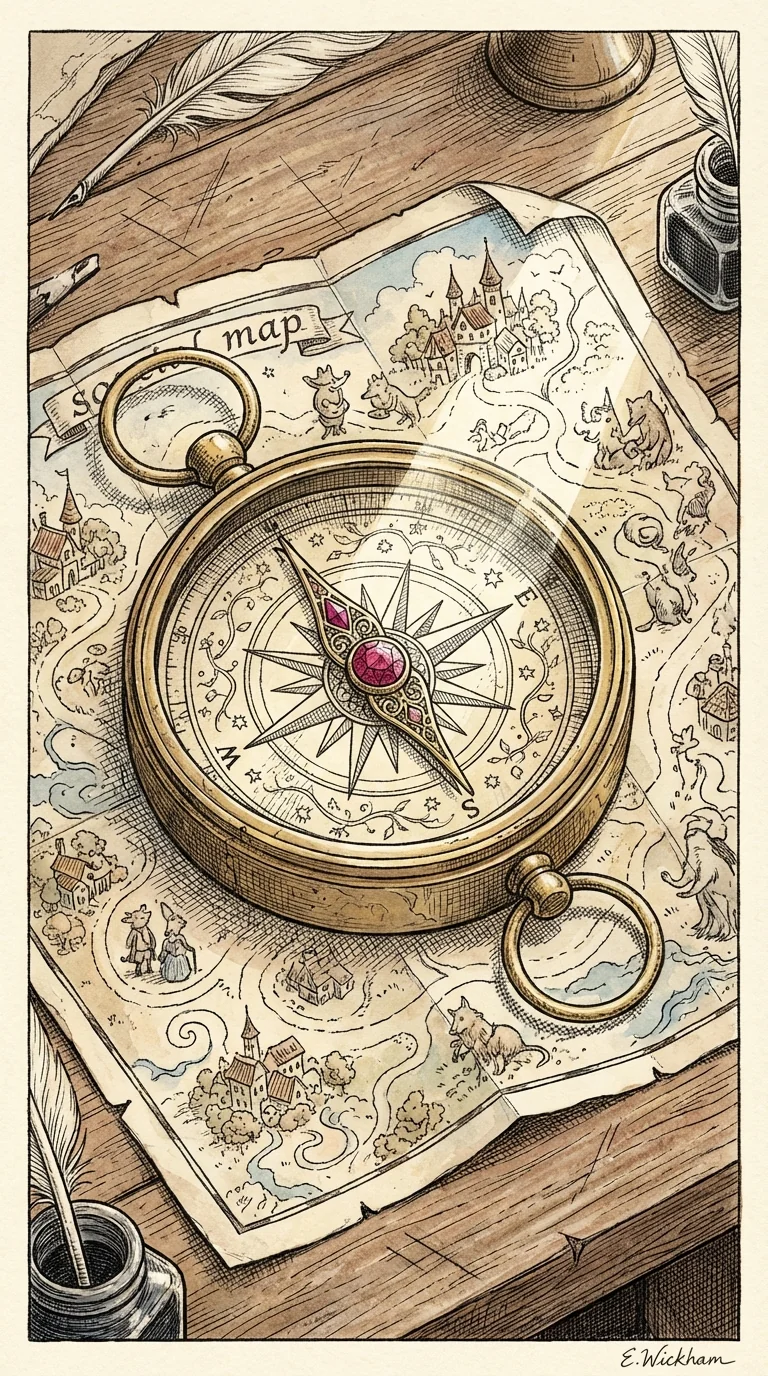
Knowing your people makes your compass more reliable. Every relationship you map is a direction you can trust.